
The main task of a Linux system administrator revolves around monitoring the Linux system hardware and software, performing installations and upgrades while maintaining all the essential services and applications. In many scenarios, these activities are executed via the command line. This is mainly because the command line(server editions) is lightweight and hence faster as compared to GUI editions. However, this is a limitation since running commands on the command line require one to memorize all the commands for the tasks. For that reason, many organizations around the world have preferred Windows systems where things are managed from a point-and-click GUI.
To eliminate this hassle and see Linux adopted by several organizations, developers have developed independent GUI-based tools with abilities to manage some particular system areas and perform associated administrative tasks. These tools include Apache Directory, phpMyAdmin, MySQL Workbench, Webmin, Ajenti, Shorewall, cPanel, Cockpit, CUPS, YaST e.t.c
What is ISPConfig?
ISPConfig is an open-source web hosting control panel for Linux systems. It allows system admins to manage sites, email addresses, FTP accounts, MySQL and MariaDB databases, Shell accounts, DNS records, and Cron jobs through a web-based UI. It supports several Linux distributions such as CentOS, Debian, Ubuntu, Fedora, and OpenSUSE.
The cool features provided by ISPConfig include:
- Complete Web Server management for both Apache and Nginx servers.
- BIND Server and DNS server management.
- Mail server management with spam and antivirus filters using Postfix (MTA) and Dovecot (IMAP).
- Website statistics with Webalizer and AWStats.
- Administrator, Reseller, Client, and Mail-user login accounts.
- Ability to manage single or multiple servers from one control panel. Using the Master/Slave Setup
Install ISPConfig Control Panel on Ubuntu 22.04
This tutorial covers how to install and configure ISPConfig Control Panel on Ubuntu 22.04
Getting Started
For this guide, you will require an Ubuntu 22.04 system with the following:
- CPU: 2 vCores
- RAM: 2 GB and above
- Space: 25 GB
DNS Setup
You need to create few records for domain to get started. They are as follows.
Set up ISPConfig 3 on Ubuntu
| Type | Host | Value |
| A | @ | Your IP address |
| A | Your IP address | |
| A | server1 | Your IP address |
| MX | @ | mail.yourdomain.com 10 |
| TXT | @ | v=spf1 a mx ip4:server-ip ~all |
| TXT | _dmarc | “v=DMARC1;p=none;sp=none;pct=100;adkim=r;aspf=r;rua=mailto:mail@Yourdomain.com;ruf=mailto:mail@Yourdomain.com;ri=86400;fo=1” |
You also need to configure a hostname:
sudo hostnamectl set-hostname isp.localdomain.comAdd the hostname to /etc/hosts
$ sudo vim /etc/hosts
#127.0.0.1 localhost.localdomain   localhost
# This line should be changed to the correct servername:
127.0.0.1 isp.localdomain.com isp
Save the file and verify the changes
$ hostname -f
isp.localdomain.com
Update the system.
sudo apt update && sudo apt upgrade -yRun the ISPConfig Installer
ISPConfig provides an installer that makes it easy to perform the installation and other underlying configs. To view all the available configuration options for the installation execute the command:
$ wget -O - https://get.ispconfig.org | sudo sh -s -- --help
********************************************************************************
ISPConfig 3 Autoinstaller
********************************************************************************

Usage: ispc3-ai.sh [<argument>] [...]

This script automatically installs all needed packages for an ISPConfig 3 setup using the guidelines from the "Perfect Server Setup" howtos on www.howtoforge.com.


Possible arguments are:
    --help          Show this help page
    --debug         Enable verbose logging (logs each command with the exit
                    code)
    --channel       Choose the channel to use for ISPConfig.
                    --channel=<stable|dev>
                    "stable" is the latest ISPConfig release available on
                    www.ispconfig.org
                    "dev" is the latest dev-branch from the ISPConfig git
                    repository:
                    https://git.ispconfig.org/ispconfig/ispconfig3/tree/develop
                    -> The dev channel might contain bugs and less-tested
                    features and should only be used in production by very
                    experienced users.
    --lang          Use language for ISPConfig installation. Specify with
                    --lang=en|de (only en (English) and de (German) supported
                    currently).
    --interactive   Don't install ISPConfig in non-interactive mode. This is
                    needed if you want to use expert mode, e. g. to install a
                    slave server that shall be integrated into an existing
                    multiserver setup.
    --use-nginx     Use nginx webserver instead of apache2
    --use-amavis    Use amavis instead of rspamd for mail filtering
    --use-unbound   Use unbound instead of bind9 for local resolving. Only
                    allowed if --no-dns is set.
    --use-php       Use specific PHP versions, comma separated, instead of
                    installing multiple PHP, e.g. --use-php=7.4,8.0 (5.6, 7.0,
                    7.1, 7.2, 7.3, 7.4, 8.0 and 8.1 available).
                    --use-php=system disables the sury repository and just
                    installs the system's default PHP version.
                    ommiting the argument (use all versions)
    --use-ftp-ports This option sets the passive port range for pure-ftpd. You
                    have to specify the port range separated by hyphen, e. g.
                    --use-ftp-ports=40110-40210.
                    If not provided the passive port range will not be
                    configured.
    --use-certbot   Use Certbot instead of acme.sh for issuing Let's Encrypt
                    certificates. Not adviced unless you are migrating from a
                    old server that uses Certbot.
    --no-web        Do not use ISPConfig on this server to manage webserver
                    setting and don't install nginx/apache or pureftpd. This
                    will also prevent installing an ISPConfig UI and implies
                    --no-roundcube as well as --no-pma
    --no-mail       Do not use ISPConfig on this server to manage mailserver
                    settings. This will install postfix for sending system
                    mails, but not dovecot and not configure any settings for
                    ISPConfig mail. It implies --no-mailman.
    --no-dns        Do not use ISPConfig on this server to manage DNS entries.
                    Bind will be installed for local DNS caching / resolving
                    only.
    --no-local-dns  Do not install local DNS caching / resolving via bind.
    --no-firewall   Do not install ufw and tell ISPConfig to not manage firewall
                    settings on this server.
    --no-roundcube  Do not install roundcube webmail.
    --roundcube     Install Roundcube even when --no-mail is used. Manual
                    configuration of Roundcube config is needed.
    --no-pma        Do not install PHPMyAdmin on this server.
    --no-mailman    Do not install Mailman mailing list manager.
    --no-quota      Disable file system quota
    --no-ntp        Disable NTP setup
    --monit         Install Monit and set it up to monitor installed services.
                    Supported services: Apache2, NGINX, MariaDB,
                    pure-ftpd-mysql, php-fpm, ssh, named, Postfix, Dovecot,
                    rspamd.
    --monit-alert-email
                    Set up alerts for Monit to be send to given e-mail address.
                    e.g. --monit-alert-email=me@example.com
    --unattended-upgrades
                    Install UnattendedUpgrades. You can add extra arguments for
                    automatic cleanup and automatic reboots when necessary with
                    --unattended-upgrades=autoclean,reboot (or only one of
                    them).
    --i-know-what-i-am-doing
                    Prevent the autoinstaller to ask for confirmation before
                    continuing to reconfigure the server.
For this guide, we will run ISPConfig with Nginx, PHP 8.0, MariaDB, Postfix, Dovecot, Rspamd, BIND, Jailkit, Roundcube, PHPMyAdmin, Mailman, Webalizer, AWStats, GoAcces.
wget -O - https://get.ispconfig.org | sudo sh -s -- --use-nginx --use-php=8.0 --use-ftp-ports=21-22 --lang=en --no-quota --unattended-upgradesYou can also use Apache in the setup
wget -O - https://get.ispconfig.org | sudo sh -s -- --use-php=8.0 --use-ftp-ports=21-22 --lang=en --no-quota --unattended-upgradesProceed by confirming the installation.
WARNING! This script will reconfigure your complete server!
It should be run on a freshly installed server and all current configuration that you have done will most likely be lost!
Type 'yes' if you really want to continue: yes
You will be granted the Admin and MySQL password. Save these passwords as you may need them later.
[INFO] Your ISPConfig admin password is: rdYbg8JJUcPbv44
[INFO] Your MySQL root password is: nFFjc1WnBD13opcz18Fm
Login to ISPConfig Web UI
Once the installation is complete, log in to the ISPConfig Web UI using the URL https://domain_name:8080
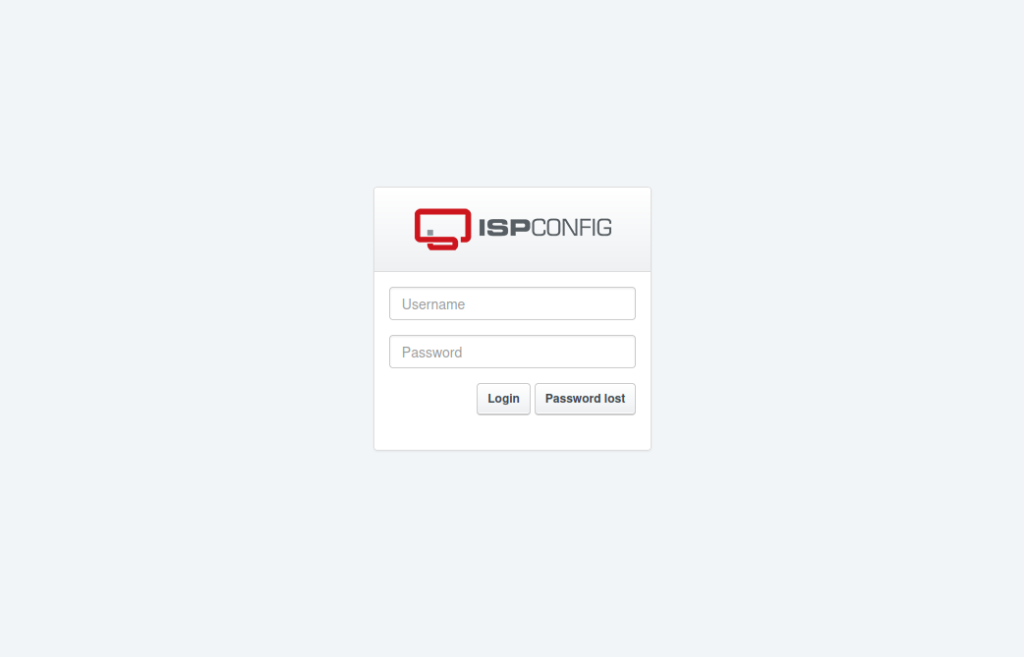
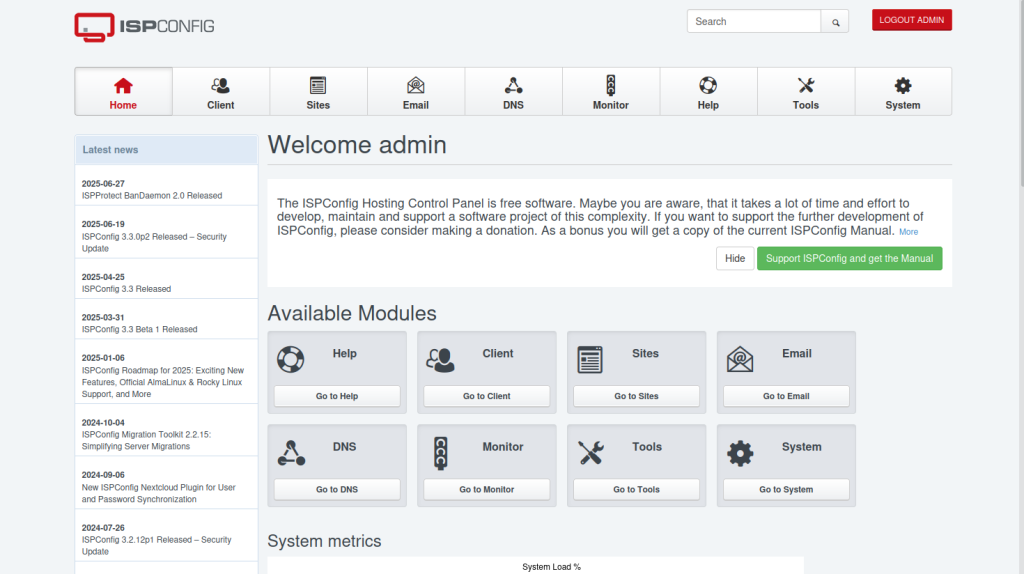
Provide the creds for the admin user. Use the password displayed during the installation. Once authenticated, you will see the below dashboard.
Setting up the firewall
The last thing to do is to set up our firewall.
Log in to the ISPConfig UI, and go to System -> Firewall. Then click “Add new firewall record”.
For a normal setup, it would look like this:
TCP:
20,21,22,25,80,443,40110:40210,110,143,465,587,993,995,53,8080,8081
UDP:
53
The necessary ports for every service are:
Web: 20, 21, 22, 80, 443 and 40110:40210 (All TCP, no UDP)
Mail: 25, 110, 143, 465, 587, 993, and 995 (All TCP, no UDP)
DNS: 53 (TCP and UDP)
Panel: 8080 and 8081 (All TCP, no UDP)