HomeLinuxDebainHow to Install Webmin...

How to Install Webmin on Debian 12

Introduction

Are you searching for a step-by-step guide to install Webmin on Debian 12? This simple tutorial is for you!

Webmin is a free, open-source web-based control panel that simplifies Linux server management right from your browser. Its intuitive dashboard lets you handle various configurations, including user accounts, disk quotas, DNS settings, services, web servers, and much more. If you’re using a LAMP stack, Webmin makes it easy to manage your Apache web server, MySQL, PHP applications, and even technologies like PostgreSQL and Python. Plus, you can manage your server remotely from any browser.

In this guide, we’ll walk through installing Webmin on an Debian 12 server. We’ll also cover basic system administration tasks like monitoring your system, adding users with custom permissions, managing packages, and running software or commands on your server.

Prerequisites

  • A server running Debian 12.
  • A root password is configured on the server.

Note

If you want to skip all the technical steps of setting up Webmin and have it installed in minutes, you can use our tried and tested 1-click Webmin application. Just choose a server, click Customize Your Own Server, under Select Server Image go to the Apps tab, then choose Webmin. This will set up Webmin in minutes!

Step 1: Updating the Package Cache

Start by updating the packages in the package manager cache to the latest available versions using the following command:

apt update

Step 2: Install Webmin on Debian 12

To install the Webmin control panel on Debian 12, you’ll first add the Webmin repository that will enable you to install the Webmin packages and update them with apt, then you’ll update the package cache, and finally you’ll use the apt install webmin command.

Install the Required Packages

First, install curl to use it to download the Webmin repository setup script, and gnupg2 to verify Webmin signatures:

apt install gnupg2 curl -y

Download and Run the Setup Script

Next, download the setup script:

curl -o setup-repos.sh https://raw.githubusercontent.com/webmin/webmin/master/setup-repos.sh

Run this script:

sh setup-repos.sh

Update the package cache:

sudo apt update

Install Webmin

After the Webmin repositories setup, you can now install Webmin:

sudo apt install webmin --install-recommends

Once the installation finishes, check that the webmin service is running properly using the following command:

systemctl status webmin
●root@mail:/tmp# systemctl status webmin
● webmin.service - Webmin server daemon
     Loaded: loaded (/lib/systemd/system/webmin.service; enabled; preset: enabl>
     Active: active (running) since Fri 2025-06-13 16:22:11 EDT; 13min ago
    Process: 3606 ExecStart=/usr/share/webmin/miniserv.pl /etc/webmin/miniserv.>
   Main PID: 3607 (miniserv.pl)
      Tasks: 5 (limit: 2300)
     Memory: 149.3M
        CPU: 18.701s
     CGroup: /system.slice/webmin.service
             ├─3607 /usr/bin/perl /usr/share/webmin/miniserv.pl /etc/webmin/min>
             ├─4007 /usr/bin/perl /usr/share/webmin/authentic-theme/stats.pl 555
             ├─4226 /usr/bin/perl /usr/share/webmin/miniserv.pl /etc/webmin/min>
             ├─5678 sh -c "(vmstat 1 2 2>/dev/null)"
             └─5679 vmstat 1 2

Manage Webmin Service

Now that Webmin is installed, you can easily manage its service. The following commands will help you start, stop, restart, and check the status of the Webmin service.

To start the Webmin service, use the command:

service webmin start

To restart the Webmin service, execute:

service webmin restart

To stop the Webmin service, use the command:

service webmin stop

To check the status of the Webmin service, run the following command:

service webmin status

Note: Webmin is accessible via port 10000. If you have a firewall, you need to allow Webmin’s port through the firewall:

ufw allow 10000

Warning: You should be extremely careful with your security practices. It is best to allow only a few trusted IP addresses or IP ranges to access your Webmin control panel.

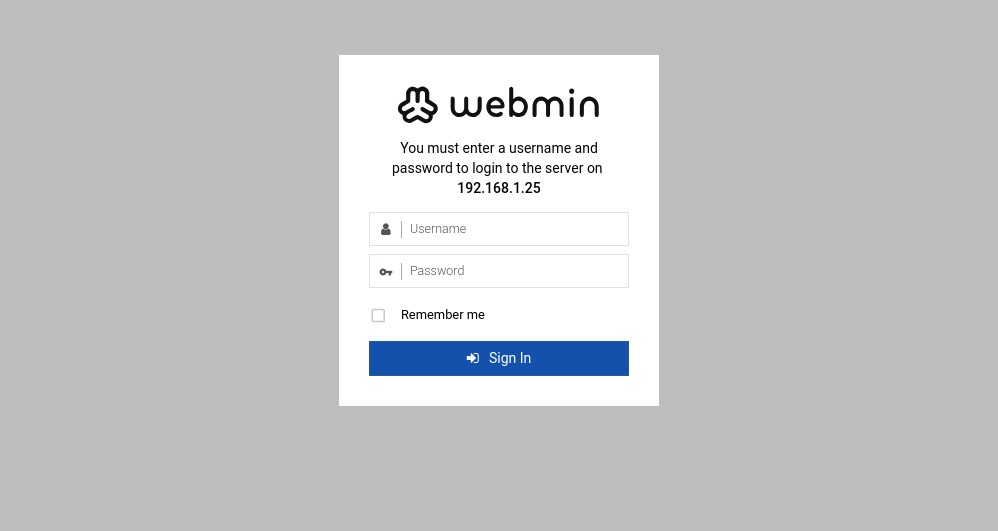
With the Webmin package installed, use your browser to visit the following URL, replacing your_ip_address_or_domain with your server’s IP address or domain name:

https://your_ip_address_or_domain:10000

If you haven’t set up an SSL certificate from a trusted Certificate Authority like Let’s Encrypt, your browser will show a “Not Secure” or “Connection is not private” error. This happens because the connection to your server isn’t recognized as secure. Don’t worry though—this is expected. Webmin uses a self-signed certificate for encryption, but since your server isn’t a known certificate authority, the browser flags it as untrusted.

- A word from our sponsors -

spot_img

Most Popular

More from Author

How To Install aaPanel on Ubuntu Ubuntu 22.04.5 LTS

Managing a server can be a daunting task, especially for those...

How To Install Fail2Ban on Ubuntu 24.04.2 LTS

Introduction Any service that is exposed to the Internet is at risk...

How To Install ISPConfig Control Panel on Ubuntu 22.04

The main task of a Linux system administrator revolves around monitoring...

Installing Let’s Encrypt Free SSL Certificate on iRedMail

In our previous guides, we saw how one can install and...

- A word from our sponsors -

spot_img

Read Now

How To Install aaPanel on Ubuntu Ubuntu 22.04.5 LTS

Managing a server can be a daunting task, especially for those who are not well-versed in command-line interfaces. Fortunately, control panels like aaPanel simplify this process significantly. This article provides a comprehensive guide on how to install aaPanel on Ubuntu 24.04 LTS, ensuring you have a powerful...

How To Install Fail2Ban on Ubuntu 24.04.2 LTS

Introduction Any service that is exposed to the Internet is at risk of malware attacks. For example, if you are running a service on a publicly available network, attackers can use brute-force attempts to sign in to your account. Fail2ban is a tool that helps protect your Linux machine...

How To Install ISPConfig Control Panel on Ubuntu 22.04

The main task of a Linux system administrator revolves around monitoring the Linux system hardware and software, performing installations and upgrades while maintaining all the essential services and applications. In many scenarios, these activities are executed via the command line. This is mainly because the command line(server...

Installing Let’s Encrypt Free SSL Certificate on iRedMail

In our previous guides, we saw how one can install and configure iRedMail Server. The default installation of iRedMail generates and install a self-signed SSL certificate for Mails services – POP3/IMAP/SMTP over TLS and for HTTPS access to webmail services. When using a self-signed certificate, you’ll often get...

APT sources.list entries for every Debian release

/etc/apt/sources.list entries for every Debian release since Wheezy, including archived releases Debian uses APT as package installation and update manager. This also applies to a distribution (release) upgrade. Usually not much changes in the APT configuration, except the code name. But sometimes, the /etc/apt/sources.list file needs some adjustments...

Debian / Ubuntu Linux restart network interface

In this article, we will see How to restart Network Interface in Debian and Ubuntu. We can restart the networking service in Linux using various command. Use the following commands as per your Linux distribution to restart the networking service. You must run the command as root...

Install iRedMail on Debian 12

What is iRedMail? iRedMail is a shell script that automatically installs and configures all necessary mail server components on your Linux/BSD server, thus eliminating manual installation and configuration. With iRedMail, you can easily create unlimited mailboxes and unlimited mail domains in a web-based admin panel. Mailboxes can be...

VirtualBox : Advanced Features and Practical Use

When using a traditional you need to install the operating system on a physical machine for evaluating software that cannot be installed on your current operating system. Oracle VirtualBox is what you need in this case, instead of reinstalling software on your physical machine. VirtualBox is designed...

Configuring a Static IP address on your Ubuntu (24.04, 24.10+) Server

To configure a static IP address on Ubuntu Server 24.10, follow these simple steps. Step 1 : Update and Install net-tools First, update your server and install the net-tools package, which includes essential networking utilities like ifconfig. sudo apt update sudo apt install net-tools Step 2 : Check Ethernet Interfaces Use the ifconfig...

Parrot virtualbox install and erorrs kernel

Option 1: Blacklist Many distros use a module blacklist to disallow module loading. Normally this can be done by adding these lines to your distro's modules.conf or similar. You might try reading man modules.conf or googling for directions for your specific distribution. blacklist kvm_intel blacklist kvm Option 2: Unload An alternative is...